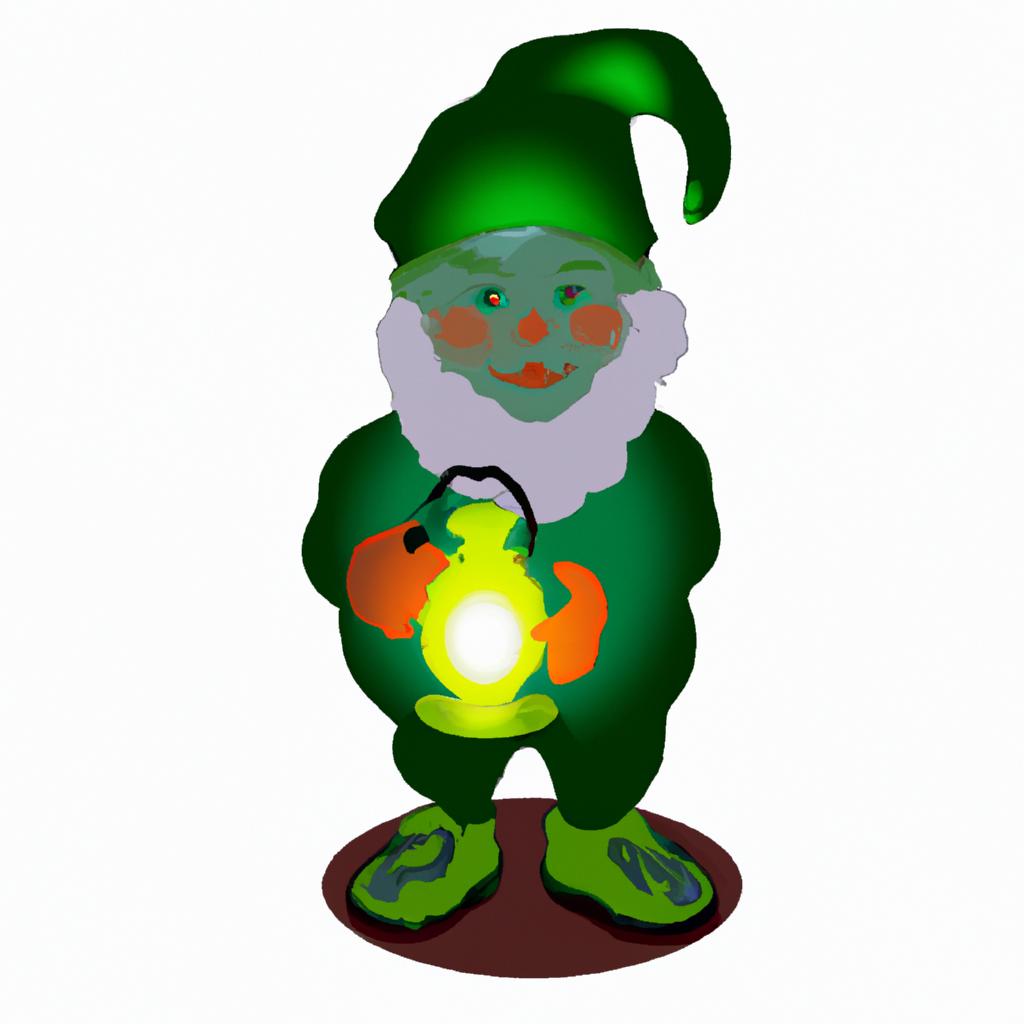
Gnomes are mystical creatures that have been a part of folklore for centuries. They are known for their pointy hats, long beards, and mischievous personalities. If you’re an artist or someone who loves to draw, learning how to draw a gnome can be a fun and rewarding experience. In this article, we’ll take you through the step-by-step process of drawing a gnome.
Introduction

Before we dive into the step-by-step process, let’s define what a gnome is. A gnome is a mythical creature that is often associated with gardens and nature. They are typically depicted as small, bearded men with pointy hats and are known for their mischievous personalities. Learning how to draw a gnome can be a fun and creative experience that allows you to bring these magical creatures to life on paper.
Drawing a gnome requires some basic materials such as pencils, erasers, and paper. You can use any type of paper you like, but it’s recommended to use a high-quality sketch pad with a smooth surface. This will allow you to blend and shade your drawings easily.
Sketching the Basic Shape of a Gnome
The first step in drawing a gnome is to sketch out the basic shape of its body. This includes the head, body, arms, and legs. Start by drawing a circle for the head and a rectangular shape for the body. Connect the two shapes with two curved lines to create the neck. Draw two small circles for the hands and two rectangles for the legs.
Once you have the basic shape, you can start adding details to the gnome’s body. Draw two curved lines for the arms and two more for the legs. Add a triangle shape to the top of the gnome’s body to create the hat. Finally, add a small circle to the bottom of the gnome’s body to create the feet. You now have the basic shape of a gnome.
Adding Details to the Gnome’s Face
The next step in drawing a gnome is to add details to its face. Start by drawing two circles for the eyes and a triangle shape for the nose. Add eyebrows and wrinkles to the forehead. Draw a long, bushy beard and mustache to complete the gnome’s face. You can add more details such as wrinkles and shading to the face to give it more depth and character.
Now that you have the basic shape and face of your gnome, it’s time to move on to the next step. In the next section, we’ll show you how to design your gnome’s clothing.
Adding Details to the Gnome’s Face
Once you have the basic shape of the gnome, it’s time to add details to its face. Start by drawing two circles for the eyes and a triangle shape for the nose. The eyes should be placed in the middle of the head and should be slightly oval-shaped. The nose should be placed just below the eyes and should be pointed.
Next, add eyebrows and wrinkles to the gnome’s forehead. Gnomes are known for their wrinkles, so be sure to add a few lines around the eyes and forehead to give the gnome a more aged appearance. Finally, draw a long, bushy beard and mustache to complete the gnome’s face. The beard should be drawn in a wavy pattern and should be longer than the gnome’s body.
To add more depth and character to the gnome’s face, you can add shading and highlights. This will give the gnome a more three-dimensional appearance and make it look more realistic.
Designing the Gnome’s Clothing
Now that you have the gnome’s body and face, it’s time to design its clothing. Start by drawing a shirt and pants for the gnome. The shirt should be drawn in a loose, flowing manner, with wrinkles and folds to give it a more realistic appearance. The pants should be drawn in a similar manner, with wrinkles and folds around the knees and ankles.
Once you have the basic shapes of the clothing, you can start adding details. Add a collar to the shirt and buttons to the front. Draw pockets on the pants and add a belt around the gnome’s waist. The shoes should be simple, with a curved toe and a small heel.
To give the clothing more texture, you can add shading and highlights. This will make the clothing look more three-dimensional and realistic. Use a darker shade of pencil to add shading to the folds and wrinkles in the clothing. Use a lighter shade of pencil to add highlights to the areas where the light hits the clothing.
Congratulations, you have now completed the step-by-step process of drawing a gnome! In the next section, we’ll show you how to add color to your gnome.
Adding Color to the Gnome
Adding color to your gnome can bring it to life and make it look more realistic. When choosing colors, you can use traditional colors such as red, blue, and green or experiment with different color schemes. It’s recommended to use colored pencils or watercolors for coloring your gnome.
Start by choosing the base color for your gnome’s clothing and hat. Then, use a lighter or darker shade of the same color for shading and highlighting. Use a light touch with your pencils or brushes to add color gradually, building up layers of color until you achieve the desired effect.
When adding shading and highlights, consider where the light source is coming from. If the light source is above the gnome, add highlights to the top of the hat and shoulders, and shade the bottom of the gnome’s body and the underside of the hat.
Final Touches and Tips
The final step in drawing a gnome is to add the finishing touches. You can add details such as buttons or pockets to the gnome’s clothing, or add texture to the hat and beard. Use a fine-tipped pen or pencil to add small details, such as wrinkles or individual hairs.
As you continue to draw gnomes, you’ll develop your own style and techniques. Here are a few tips to help you improve your gnome drawing skills:
-
Practice regularly: The more you practice, the better you’ll get. Set aside time each day to draw gnomes and experiment with different techniques.
-
Study other artists: Look at other artists’ work and study their techniques. Take note of how they use shading, color, and texture to create depth and dimension.
-
Experiment with different materials: Try using different materials, such as charcoal or pastels, to create different effects.
-
Don’t be afraid to make mistakes: Making mistakes is part of the learning process. Don’t be afraid to try new things and experiment with different techniques.
In conclusion, learning how to draw a gnome can be a fun and rewarding experience. By following these step-by-step instructions, you’ll be able to bring these mystical creatures to life on paper. Remember to practice regularly, study other artists, and experiment with different techniques to improve your gnome drawing skills. With time and dedication, you’ll become a master at drawing gnomes.
