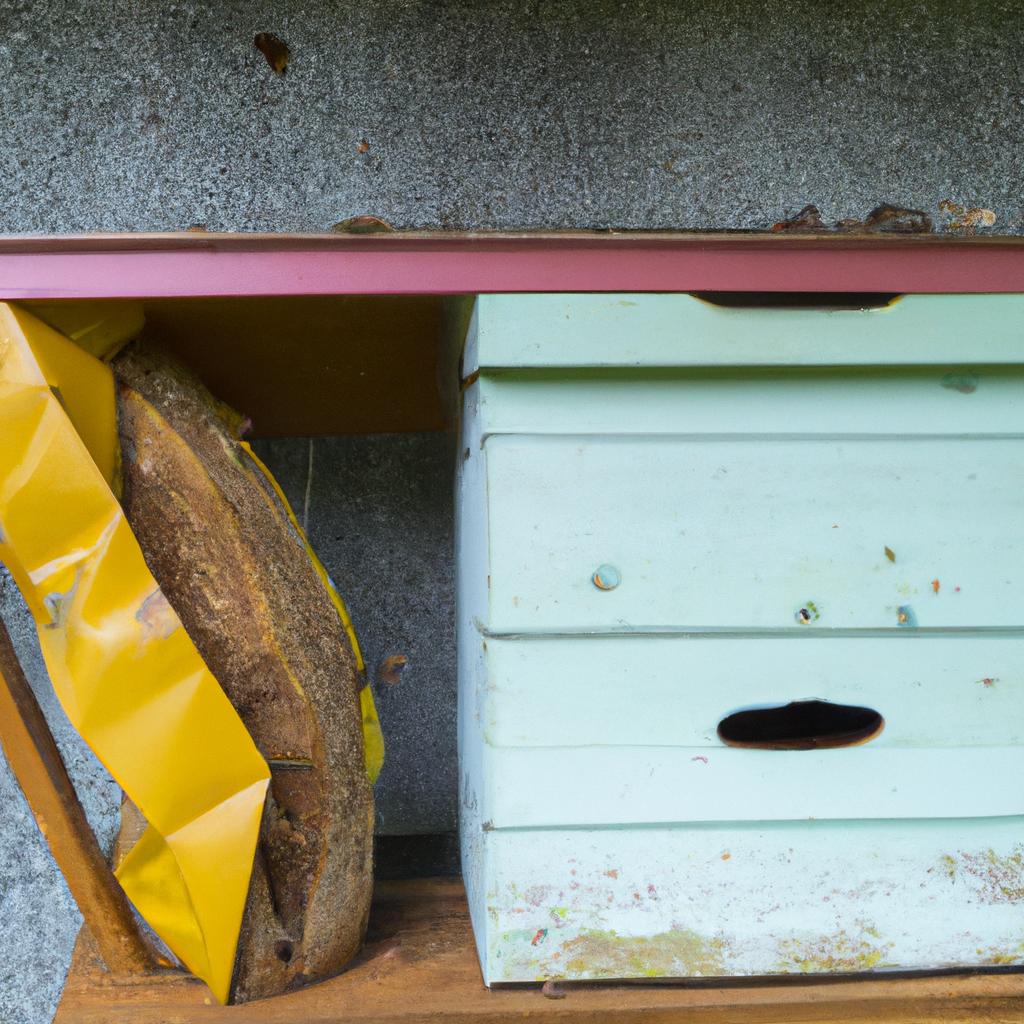
As a beekeeper, it’s essential to ensure your bees have access to enough food, especially during the winter months. One way to provide your bees with an extra source of food is by making a candy board. A candy board is a type of bee food that consists of a mixture of sugar and water. It’s an excellent way to supplement your bees’ honey stores and ensure they have enough food to survive the winter.
Materials Needed

To make a candy board, you’ll need a few essential materials. Here’s a list of what you’ll need:
1. Wooden Board
The wooden board should match the size of your beehive’s inner cover. It will serve as the base of the candy board.
2. Sugar
Granulated white sugar is the preferred type of sugar to use when making a candy board.
3. Water
You’ll need water to mix with the sugar to make the candy board.
4. Candy Thermometer
A candy thermometer is necessary to ensure the sugar mixture reaches the correct temperature.
5. Mixing Bowl
You’ll need a mixing bowl to mix the sugar and water.
6. Spoon
A spoon will be used to stir the sugar and water mixture.
7. Wax Paper
Wax paper will be used to line the candy board to prevent the candy from sticking to the wooden board.
Step-by-Step Guide to Making a Candy Board

Now that you’ve gathered all your materials, it’s time to make the candy board. Follow these steps:
1. Mix Sugar and Water
In a mixing bowl, mix 15 pounds of white granulated sugar with 7 cups of water. Stir the mixture until the sugar has completely dissolved.
2. Cook Sugar Mixture
Place the mixture on the stove and heat it to 234°F (112°C). Use a candy thermometer to ensure the sugar mixture reaches the correct temperature.
Stay tuned for the next 2 sections.
Step-by-Step Guide to Making a Candy Board (Continued)
3. Pour Mixture onto Wooden Board
Once the sugar mixture reaches 234°F (112°C), remove it from the stove and pour it onto the wooden board. Use a spoon to spread the mixture evenly across the board. Make sure the mixture is about ½ inch thick.
4. Let Candy Board Cool
After pouring the mixture onto the wooden board, let it cool for 24-48 hours. The candy board needs to harden and cool completely before it can be placed in the beehive.
5. Cut Wax Paper and Place Candy Board
Once the candy board has cooled and hardened, cut a piece of wax paper to match the size of the board. Place the wax paper on top of the candy board to prevent it from sticking to the beehive’s inner cover.
6. Add Candy Board to Beehive
Place the candy board on top of the beehive’s inner cover. Make sure the candy board is in direct contact with the bees. The bees will be able to access the candy board through the holes in the inner cover.
7. Monitor Candy Board
Regularly check the candy board to make sure the bees are eating it and that it hasn’t become too hard or stale. Replace the candy board as needed to ensure your bees have enough food to survive the winter.
How to Install a Candy Board in Your Beehive
Installing a candy board in your beehive is a straightforward process. Here are the steps you need to follow:
1. Remove Inner Cover
Remove the beehive’s inner cover and set it aside.
2. Place Candy Board
Place the candy board on top of the beehive’s frames. The candy board should be in direct contact with the bees.
3. Replace Inner Cover
Replace the inner cover on top of the candy board. Make sure the inner cover is sealed tightly to prevent any drafts from entering the hive.
4. Monitor Candy Board
Monitor the candy board regularly to make sure the bees are eating it and that it hasn’t become stale or too hard. Replace the candy board as needed to ensure your bees have enough food to survive the winter.
Proper installation of the candy board is crucial to ensure your bees have access to enough food during the winter months. Be sure to follow the above steps to ensure your bees have the best chance of survival.
Maintenance of Candy Boards
Regular maintenance of candy boards is crucial to ensure your bees have access to the food they need throughout the winter. Here are a few tips on how to maintain your candy board:
1. Check Candy Board Regularly
Check on your candy board periodically to ensure the bees have access to the food and that the candy hasn’t become too hard. If the candy becomes hard, you may need to replace it with a new one.
2. Refill Candy Board as Needed
If the bees have eaten all the candy, refill the candy board with a new batch.
3. Remove Wax Paper
When the candy board is empty, remove the wax paper from the wooden board and clean it thoroughly before adding a new wax paper layer.
4. Store Candy Boards Properly
Store your candy boards in a dry, cool place to prevent them from getting moldy or attracting pests.
By following these simple maintenance tips, you can ensure that your bees have access to the food they need throughout the winter.
Conclusion
In conclusion, candy boards are an excellent way to supplement your bees’ food supply, especially during the winter months. They’re easy to make and require minimal maintenance. By providing your bees with a candy board, you’re helping to ensure their survival and well-being. At BeeKeepinglove.com, we recommend all beekeepers to make a candy board for their hives. Remember to check your candy board regularly, refill it as needed, and store it properly to ensure its longevity. Happy beekeeping!
