Bees play a crucial role in pollination, which is essential for the growth of various crops and plants. However, beekeeping can be a challenging task, and beekeepers need to ensure their hives remain healthy and protected. One way to maintain healthy beehives is by using a quilt box. A quilt box is a simple yet effective addition to a beehive, which helps regulate temperature and humidity levels inside the hive. In this article, we will discuss how to make a quilt box for bees and its benefits.
Materials Needed
Before making a quilt box for bees, it’s essential to have all the necessary materials. You will need:
1. Wood
The first and most crucial material required for making a quilt box is wood. The wood used should be untreated, and preferably, 1-inch thick. The size of the wood should be the same as the size of the beehive.
2. Insulation
The next material required is insulation. You can use sawdust, wood shavings, or straw as insulation. Ensure that the insulation you use is dry and free of any chemicals.
3. Fabric
You will also need a piece of fabric that is the same size as the wood. The fabric will be used to cover the insulation and prevent it from falling out of the quilt box.
4. Staple Gun
A staple gun is required to attach the fabric to the wood.
5. Drill
The drill will be used to make holes in the quilt box, which will allow the bees to enter and exit.
6. Screws
Screws will be used to attach the quilt box to the beehive.
Now that you have all the necessary materials, let’s move on to the next section and learn how to make a quilt box for bees.
Steps to Build a Quilt Box for Bees
Making a quilt box for bees is a simple process that can be completed in a few steps. Follow the steps below to make a quilt box for your beehive.
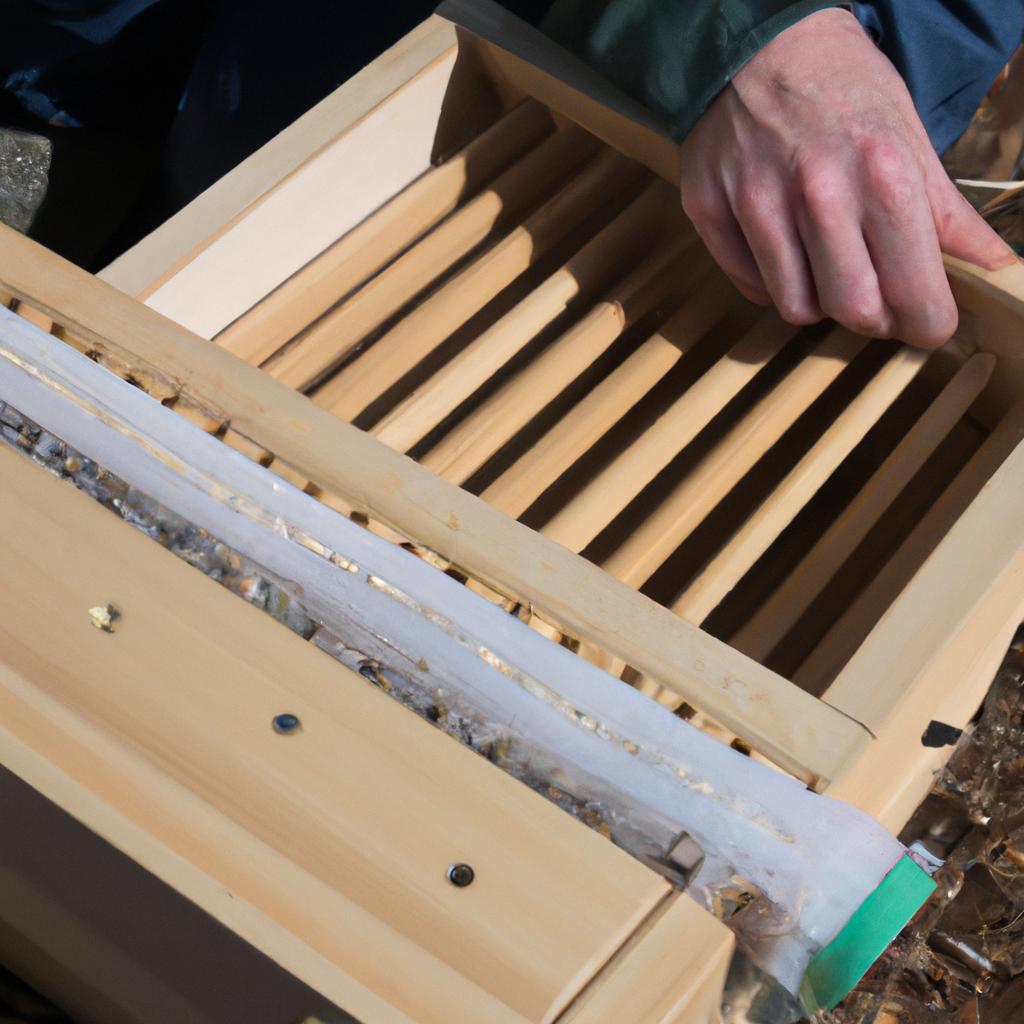
1. Measure and Cut the Wood
The first step is to measure the size of the beehive and cut the wood to the same size. You will need two pieces of wood of the same size.
2. Attach Insulation
Next, attach the insulation to one piece of wood using a staple gun. Ensure that the insulation covers the entire surface of the wood.
3. Cover with Fabric
Cover the insulation with a piece of fabric and staple it to the wood.
4. Drill Holes
Using a drill, make several holes in the quilt box. The holes should be large enough to allow the bees to enter and exit the quilt box.
5. Attach the Quilt Box
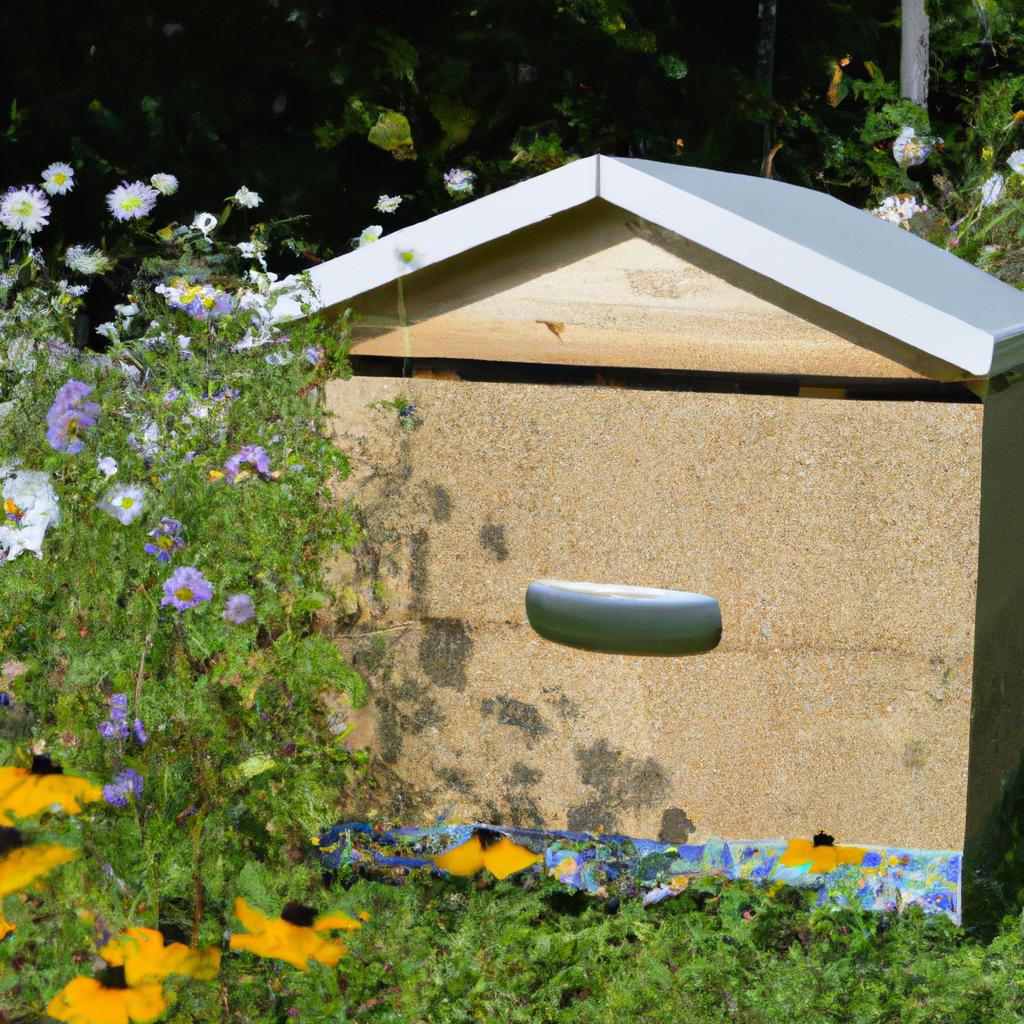
Finally, attach the quilt box to the beehive using screws. Place the quilt box on top of the beehive, and your quilt box for bees is ready.
In the next section, we will discuss how to install the quilt box on the beehive and ensure that the bees are not disturbed during installation.
Installing the Quilt Box on the Beehive (300 words)
Installing the quilt box on the beehive is a simple process that requires some precautions to ensure the bees are not disturbed. Follow the steps below to install the quilt box on the beehive.
1. Choose the Right Time
Choose the right time to install the quilt box. The best time is during the day when the bees are out foraging, and the temperature is not too hot or too cold.
2. Remove the Hive Cover
Remove the hive cover and place the quilt box on top of the beehive. Ensure that the quilt box is placed correctly, and the bees have enough space to enter and exit the quilt box.
3. Replace the Hive Cover
Replace the hive cover carefully. Ensure that the cover is securely in place and that the quilt box is not disturbed.
4. Monitor the Bees
Monitor the bees after installing the quilt box. Observe their behavior and check if they are entering and exiting the quilt box correctly.
In conclusion, making a quilt box for bees is an easy and affordable way to maintain healthy beehives. The quilt box helps regulate temperature and humidity levels inside the hive, which is crucial for the bees’ survival. By following the steps outlined in this article, you can make and install a quilt box for your beehive. Beekeepinglove.com encourages beekeepers to try making their own quilt box and protect their bees. In the next section, we will discuss how to maintain the quilt box to ensure it functions correctly.
Steps to Build a Quilt Box for Bees (300 words)
Building a quilt box for bees is a relatively simple process that requires some attention to detail to ensure the box is sturdy and secure. Follow the steps below to build your quilt box for bees.
1. Cut the Wood
The first step is to measure and cut the wood to the same size as the beehive. You will need two pieces of wood of the same size.
2. Attach the Insulation
Next, attach the insulation to one piece of wood using a staple gun. Ensure that the insulation covers the entire surface of the wood.
3. Cover with Fabric
Cover the insulation with a piece of fabric and staple it to the wood. Ensure that the fabric is tight and free of any wrinkles.
4. Drill Holes
Using a drill, make several holes in the quilt box. The holes should be large enough to allow the bees to enter and exit the quilt box.
5. Attach the Two Pieces of Wood
Attach the two pieces of wood together using screws. Ensure that the quilt box is sturdy and secure.
6. Test the Quilt Box
Finally, test the quilt box by placing it on top of the beehive. Ensure that the bees can enter and exit the quilt box correctly.
By following these steps, you can make a quilt box for bees that is sturdy and secure. Additionally, here are some tips to keep in mind when making a quilt box for bees:
- Use untreated wood to avoid any chemicals harming the bees.
- Ensure that the insulation is dry and free of any chemicals.
- Use a staple gun to attach the fabric to the wood, ensuring that the insulation stays in place.
- Make sure that the quilt box’s dimensions are the same as the beehive’s dimensions.
- Check that the box’s holes are large enough to allow the bees to enter and exit the quilt box.
In the next section, we will discuss how to maintain the quilt box to ensure it functions correctly.
Maintaining the Quilt Box (300 words)
Maintaining the quilt box is essential to ensure that it functions correctly and helps regulate temperature and humidity levels inside the hive. Here are some tips to help you maintain your quilt box.
1. Monitor the Condition of the Quilt Box
Check the quilt box regularly to ensure that it is in good condition. Look for any signs of damage or wear and tear, such as holes in the fabric or cracks in the wood. If you notice any damage, repair or replace the quilt box immediately.
2. Monitor the Bees
Monitor the bees regularly to ensure that they are entering and exiting the quilt box correctly. Observe their behavior and check that they are not being disturbed or agitated.
3. Check the Insulation
Check the insulation regularly to ensure that it is still in good condition. If the insulation is wet or moldy, remove it and replace it with dry insulation.
4. Make Repairs if Necessary
If you notice any damage or wear and tear to the quilt box, make repairs immediately. Replace any damaged or worn-out parts to ensure that the quilt box continues to function correctly.
By following these tips, you can maintain your quilt box for bees and ensure that it functions correctly. Regular maintenance is essential to keep the hive healthy and to protect the bees from the harsh elements.
In the next section, we will summarize the importance of bees and the benefits of using a quilt box for beekeeping.
Maintaining the Quilt Box
Maintaining the quilt box is essential to ensure it functions correctly and protects the bees. Here are some tips on how to maintain the quilt box:
1. Check for Damage
Regularly check the quilt box for any damage or wear and tear. Look for holes in the fabric or insulation, cracks in the wood, or loose screws. Repair any damage immediately to prevent further damage.
2. Clean the Quilt Box
Clean the quilt box regularly to prevent the buildup of debris or dirt. Remove any dead bees or debris that may have accumulated inside the quilt box.
3. Replace Insulation
If the insulation becomes wet or moldy, it needs to be replaced immediately. Wet insulation can cause the quilt box to become heavy and difficult to handle. Replace the insulation with dry and chemical-free insulation.
4. Monitor the Bees
Monitor the bees’ behavior and check if they are using the quilt box. If the bees are not using the quilt box, it may indicate a problem with the hive or quilt box. Observe the bees for any signs of stress or disease.
Conclusion
In conclusion, bees play a crucial role in pollination, and beekeepers need to ensure their hives remain healthy and protected. One way to maintain healthy beehives is by using a quilt box. A quilt box is a simple and affordable addition to a beehive that helps regulate temperature and humidity levels inside the hive.
By following the steps outlined in this article, beekeepers can make and install a quilt box for their beehive. It’s essential to maintain the quilt box regularly to ensure it functions correctly and protects the bees.
Beekeepinglove.com encourages beekeepers to try making their own quilt box and protect their bees. By using a quilt box, beekeepers can create a healthier and more sustainable environment for their bees, which is essential for the bees’ survival and the growth of crops and plants.
