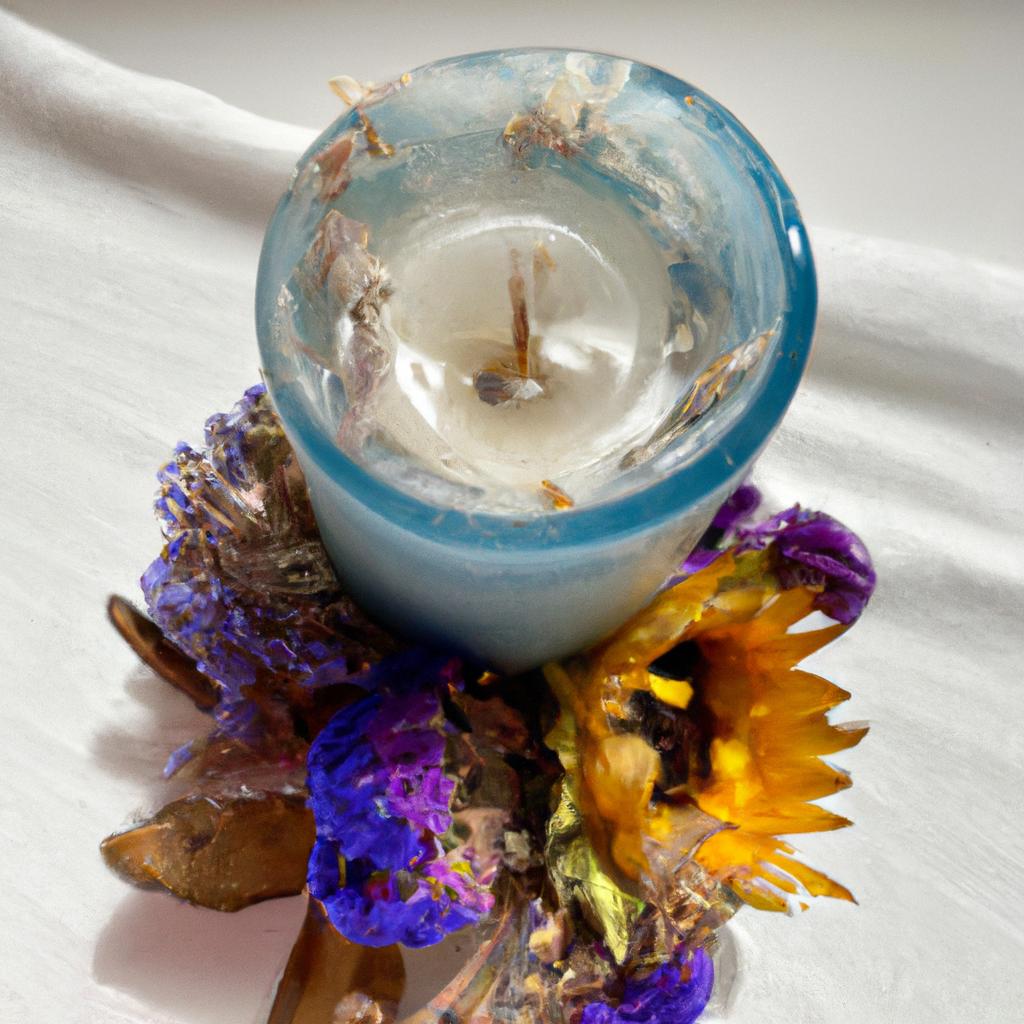
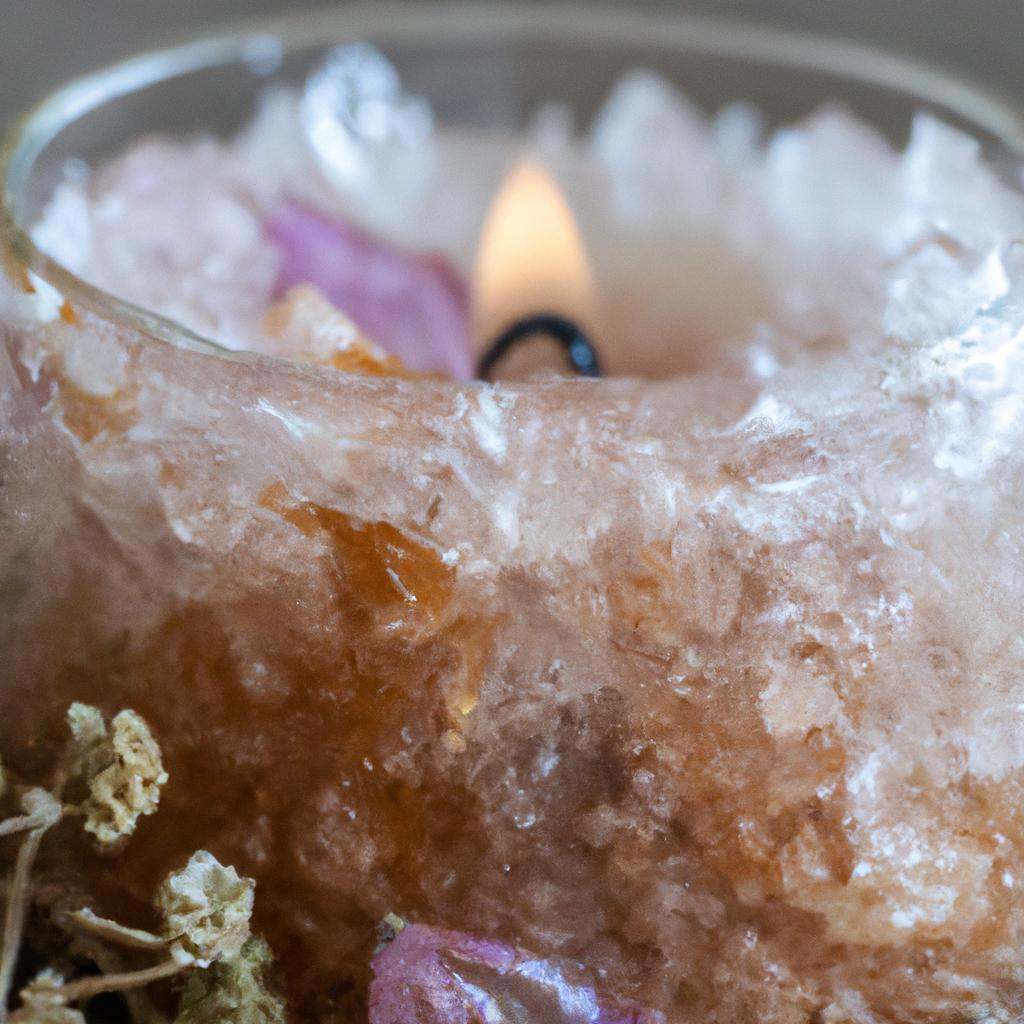
Candles are a popular way to add warmth and ambiance to any room, and making them can be a rewarding and creative experience. Adding dried flowers and crystals to your candles can take them to the next level, creating a beautiful and unique piece of home decor. In this article, we will provide you with a step-by-step guide on how to make candles with dried flowers and crystals.
Materials Needed

Before we begin, it’s essential to gather all the materials you’ll need. Here’s a list of what you’ll need:
- Candle wax: You can use soy wax, beeswax, or paraffin wax. Soy wax is a popular choice because it’s eco-friendly and easy to work with.
- Candle wicks: Make sure you choose the right size for your candle.
- Candle dye: You can use liquid or dye chips to color your candles.
- Fragrance oil: Choose a scent that complements the flowers and crystals you’ll be using.
- Dried flowers: You can use any dried flowers you like, but make sure they’re not too large.
- Crystals: Choose crystals that are small enough to fit in your candle mold.
- Candle mold: You can use glass jars, metal tins, or silicone molds.
You can find all of these materials at your local craft store or online. Once you have everything you need, it’s time to prepare the dried flowers and crystals.
Preparing the Dried Flowers and Crystals

The first step in making candles with dried flowers and crystals is preparing them. Here’s how to do it:
Sorting and Cleaning the Flowers
Before using the dried flowers, make sure to sort them and remove any debris. It’s also essential to clean them thoroughly to remove any dirt or dust. You can do this by gently wiping them with a damp cloth or using a soft-bristled brush to remove any debris. If you’re using flowers that have a strong scent, make sure to let them air out for a few hours before using them in your candles.
Choosing the Right Crystals
When choosing crystals for your candles, it’s essential to consider their size and color. You want to choose crystals that are small enough to fit in your candle mold and complement the color of your dried flowers. Clear quartz, rose quartz, amethyst, and citrine are popular choices because they’re small and come in a range of colors.
Preparing the Crystals
Before adding the crystals to your candle, it’s essential to clean them thoroughly. You can do this by placing them in a bowl of warm water and adding a few drops of dish soap. Gently scrub them with a soft-bristled brush, then rinse them thoroughly and let them dry. Once the crystals are clean and dry, you can add them to your candle mold.
Now that your dried flowers and crystals are prepared, it’s time to move on to preparing the candle wax.
Preparing the Candle Wax
Once your dried flowers and crystals are ready, it’s time to prepare the candle wax. Here’s what you need to know:
Types of Candle Wax
There are several types of candle wax you can use, including soy wax, beeswax, and paraffin wax. Soy wax is a popular choice because it’s eco-friendly and easy to work with. Beeswax is another popular choice because it’s natural and has a pleasant honey scent. Paraffin wax is the most affordable option, but it’s not as eco-friendly as soy wax or beeswax.
Melting the Wax
To melt the wax, you’ll need a double boiler or a melting pot. Fill the bottom pot with water and place the top pot inside. Add the wax to the top pot and heat it until it melts completely. Make sure to stir the wax regularly to ensure it melts evenly.
Adding Color and Fragrance
Once the wax has melted, it’s time to add color and fragrance. You can use liquid or dye chips to color your candles. Add a few drops of fragrance oil to the melted wax and stir it thoroughly. Make sure to choose a scent that complements the flowers and crystals you’ll be using.
Now that the wax is ready, it’s time to move on to making the candles.
Making the Candles
Here’s how to make candles with dried flowers and crystals:
Choosing a Candle Mold
You can use glass jars, metal tins, or silicone molds to make your candles. Make sure to choose a mold that’s the right size for your candle and allows enough space for the dried flowers and crystals.
Preparing the Mold
Before pouring the wax into the mold, make sure to prepare it. If you’re using a glass jar or metal tin, place the wick in the center of the jar and secure it with a wick tab. If you’re using a silicone mold, place the wick in the center of the mold and secure it with a wick holder.
Layering the Wax, Flowers, and Crystals
Once the mold is ready, it’s time to start layering the wax, flowers, and crystals. Begin by pouring a thin layer of wax into the mold and letting it cool for a few minutes. Then, add a layer of dried flowers and crystals, making sure to distribute them evenly. Pour another layer of wax on top of the flowers and crystals, then repeat the process until the mold is full.
Finishing and Packaging
Once the candle has completely cooled, it’s time to remove it from the mold. Trim the wick to about 1/4 inch and package the candle in a clear bag or box. You can add a label with the scent and ingredients to make it look more professional.
In conclusion, making candles with dried flowers and crystals is a fun and creative way to add a unique touch to your home decor. By following these simple steps, you can create beautiful and fragrant candles that will brighten up any room. So why not give it a try and impress your friends and family with your new candle-making skills?
Making the Candles
Now that you have all your materials ready and your dried flowers and crystals are prepared, it’s time to start making your candles.
Choosing a Candle Mold
The first step is to choose a candle mold. You can use glass jars, metal tins, or silicone molds. Make sure that the mold is clean and dry before you start making the candle.
Preparing the Mold
If you’re using a glass jar or a metal tin, you’ll need to prepare it before pouring in the wax. To do this, you can use a hot glue gun to secure the wick to the bottom of the jar or tin. Make sure the wick is centered and straight.
Layering the Wax, Flowers, and Crystals
Now it’s time to start layering the wax, flowers, and crystals. Start by melting the candle wax according to the package instructions. Once the wax is melted, add your chosen candle dye and fragrance oil, and stir well.
Next, pour a small amount of the wax into the bottom of the mold and let it cool for a few minutes. Then, add a layer of dried flowers and crystals on top of the wax. Repeat this process until the mold is full, making sure to leave enough space at the top for the final layer of wax.
Once the mold is full, pour the remaining wax on top of the flowers and crystals, making sure to cover them completely. Let the candle cool and harden completely before moving on to the next step.
Finishing and Packaging
Once your candle has cooled and hardened, it’s time to finish and package it.
Removing the Candle from the Mold
Carefully remove the candle from the mold by gently pulling on the wick. If the candle is difficult to remove, you can place the mold in the freezer for a few minutes to loosen the wax.
Trimming the Wick
Trim the wick to about 1/4 inch using a pair of scissors. This will ensure that the candle burns evenly and doesn’t produce too much smoke.
Packaging the Candle
You can package your candle in a variety of ways, depending on your preference. You can wrap it in tissue paper and tie it with a ribbon, or you can place it in a gift box. If you’re planning on selling the candles, make sure to include a label with the fragrance, size, and ingredients used.
In conclusion, making candles with dried flowers and crystals is a fun and creative way to add a personal touch to your home decor. With the right materials and some patience, you can create beautiful and unique candles that will impress your friends and family. So, why not give it a try and see how creative you can be?
